Settings
Send reports to Domino
Regardless of whether a scan runs from the web interface or CLI, the toolkit can automatically and securely upload the report to a secure S3 bucket owned by Domino within Domino’s internal AWS account. Access to the reports are restricted to Domino engineers via a single sign-on (SSO) page with granted permissions.
This behavior is on by default but can be disabled or enabled by either selecting the option in
the web interface to opt in/out of uploads, applying a ConfigMap, or when using the
command line by running with the --local-only option:
./toolkit.sh test --local-only
Note
The --local-only option applies to that run only and does not change the default behavior.
If you have opted out of uploads, you can still upload a report to Domino using the CLI:
./toolkit.sh test --upload-report
There are many benefits to uploading reports to Domino:
Quicker resolution of support tickets
Validating deployment configuration
Providing more proactive rather than reactive support
Domino can also use the data collected from multiple customers to better understand how customer-specific configuration and infrastructure affects the overall performance and stability of the Domino platform so that we can deliver a more robust and performant product with each release.
Important
Admin Toolkit reports do contain potentially sensitive information such as IP addresses, hostnames, partial log files, and usernames. Passwords are not included. If you have concerns about any of the information collected, contact us at support@dominodatalab.com or through your CSM or TAM to discuss your concerns. Since the always-on admin toolkit can be updated independently of the Domino version of your deployment, addressing such concerns can be quick.
Enabling/disabling reports to be sent to Domino
By default, the functionality to have reports uploaded to Domino is enabled.
This allows Domino engineers to gain access to the reports faster during an outage and get historical context to previous outages. You can opt out of this service (or opt in again) via web interface or through an applied Kubernetes ConfigMap.
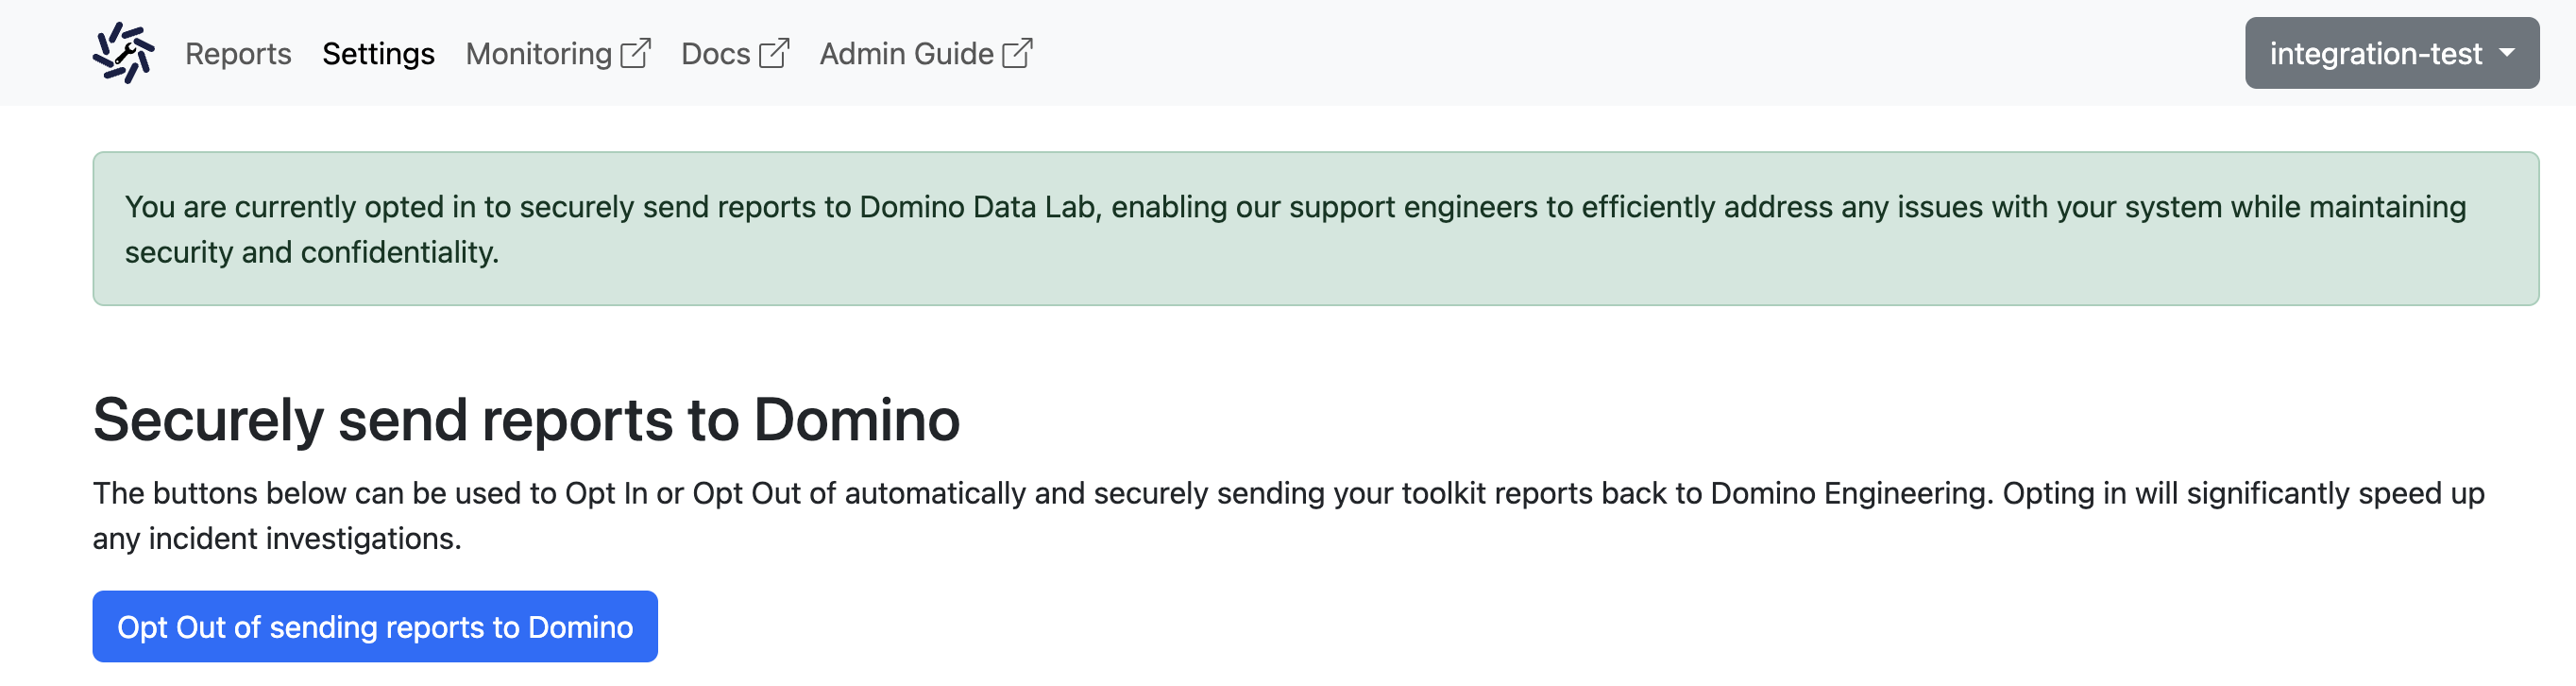
To opt out of sending reports to Domino via the web interface, navigate to the Settings tab and then click the Opt Out of sending reports to Domino button. To opt back in, click the Opt In to sending reports to Domino button.
To opt out of sending reports to Domino through an applied Kubernetes ConfigMap, follow the instructions below.
Note
These reports only collect deployment and service verification data and do not contain any sensitive data.
v2 ConfigMap
In v2, a ConfigMap is generated by default. Here is an example of the default ConfigMap:
apiVersion: v1
name: domino-admin-toolkit-config
data:
  crontab_entry: 0 0 * * *
  send_to_domino: "True"
kind: ConfigMap
To opt out of sending reports to Domino, change the send_to_domino value to “False”.
Note
crontab_entry is a new configuration item available in v2, allowing you to schedule runs of the toolkit.
v1 ConfigMap
For v1 there is no configmap created on deploy. You can opt out in the web interface by clicking the opt-out button. This generates a configmap for you with your options specified. You can also create your own configmap following the instructions below.
Copy and paste the following template into a file, changing the namespace to meet your deployment’s platform namespace:
kind: ConfigMap
apiVersion: v1
metadata:
  name: domino-admin-toolkit-cm
  namespace: <platform-namespace>
data:
  send_to_domino: "True"
To opt out of sending reports to Domino, change the send_to_domino value to “False”.
Then apply:
kubectl apply -f <configmap>.yaml
The requirements are:
ConfigMap type
Metadata name: domino-admin-toolkit-cm
Data must only use key
send_to_dominoand the value is a boolean type(True or False):
Scheduled reports
Scheduled reporting lets you generate Domino health reports at regular intervals. Having a “healthy state” report handy provides a comparative baseline during system disruptions. This can be invaluable in swiftly identifying system anomalies, thus accelerating the issue resolution process.
Set up scheduled reporting
Follow the steps below to set up scheduled reporting:
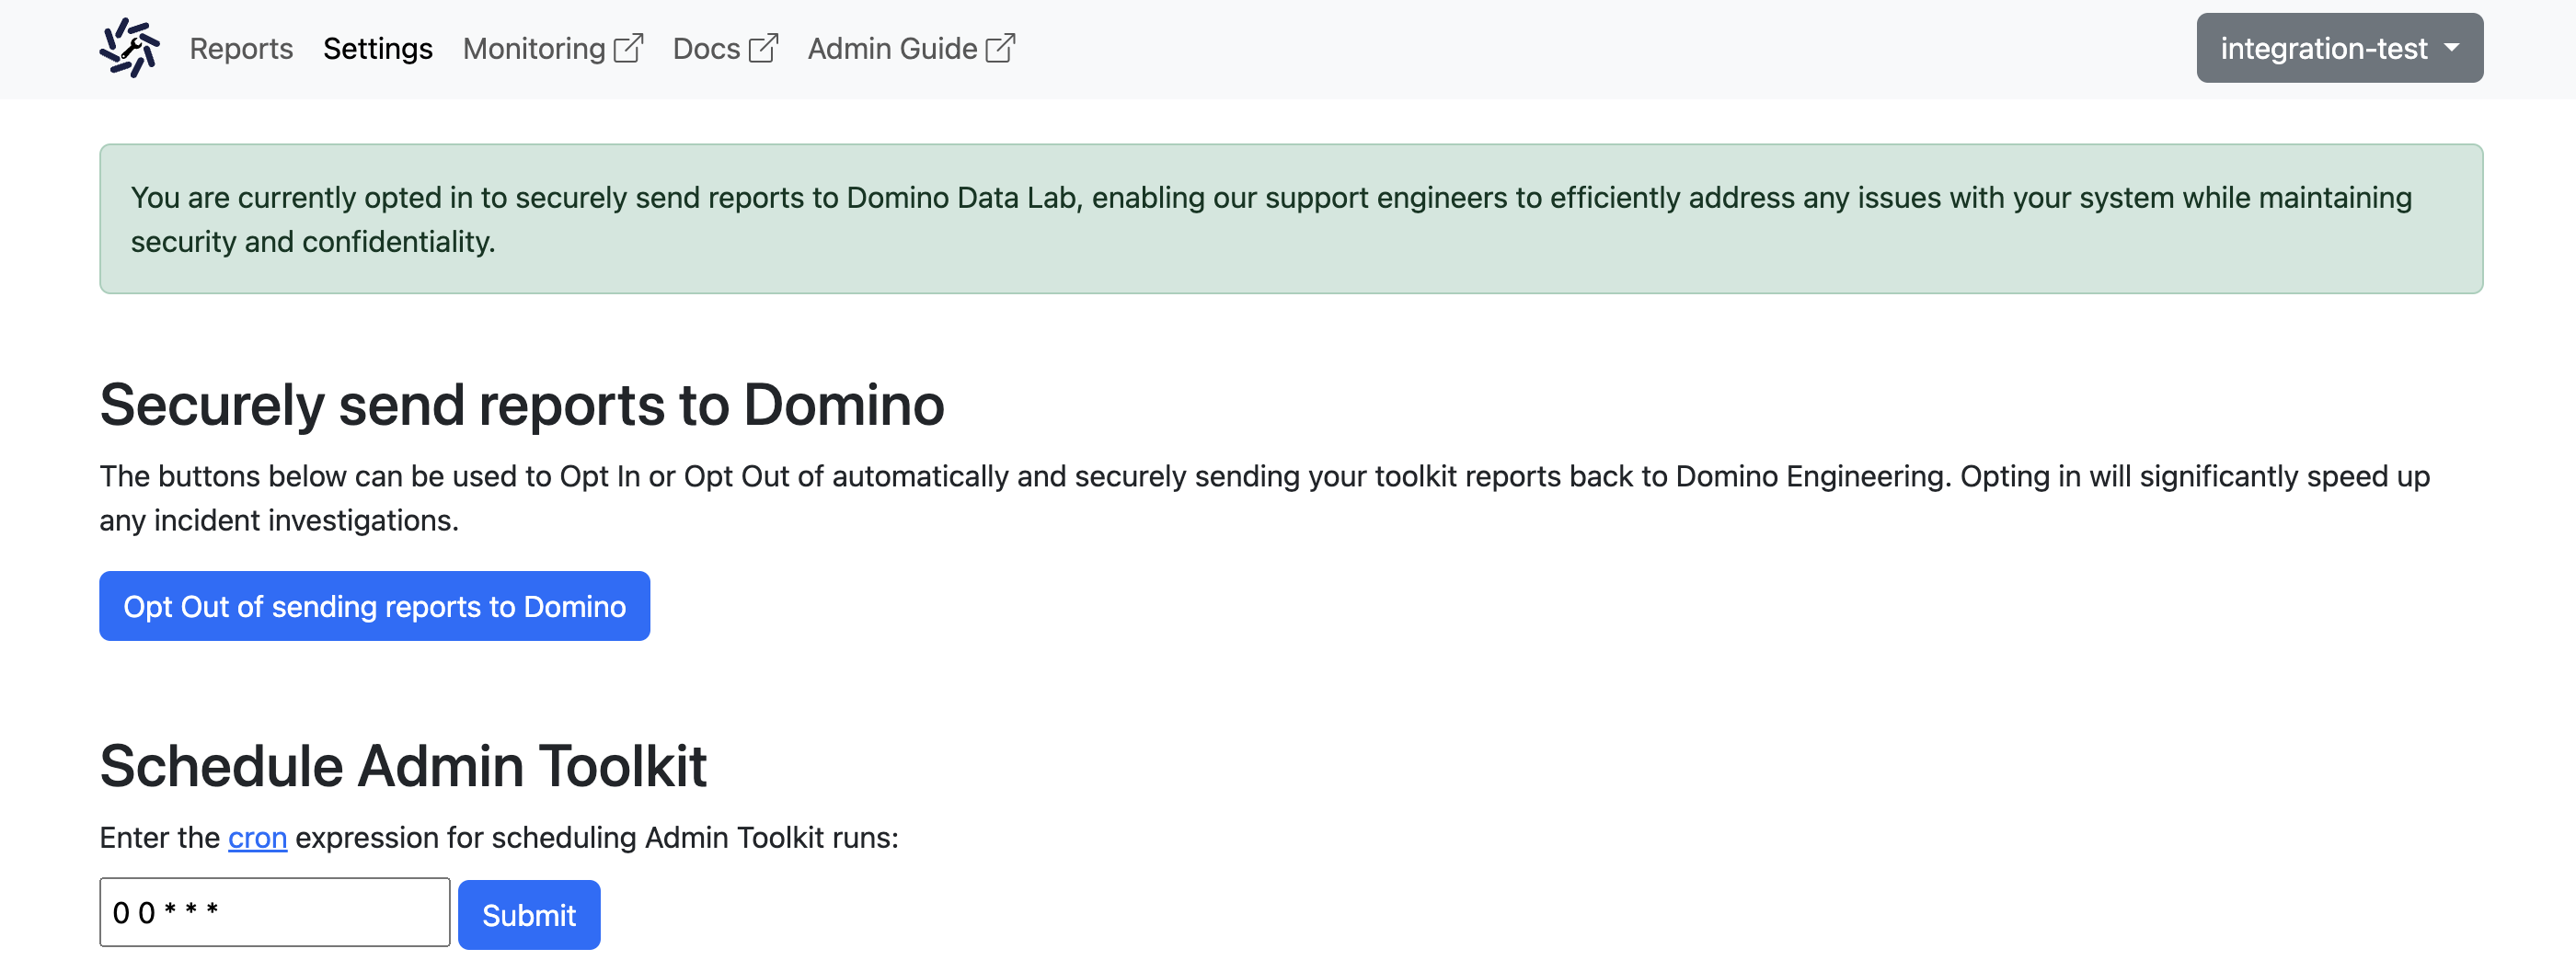
Open the toolkit web interface and navigate to the Settings tab.
Under the Schedule Admin Toolkit section, specify the frequency and timing for the reports as per your requirement. This is accepted in cron formatting only.
Click Submit.
Now the toolkit generates and stores system health reports according to the schedule you’ve set. These reports can be accessed and reviewed anytime, providing you a consistent and regular overview of your system’s health.
Important
By default: - The schedule is set to once a day. - A maximum number of 10 reports are saved at any one time.
If you don’t have access to the UI for any reason you can also update the value using the configmap. Adjust the crontab_entry setting the the value of your required timings.
apiVersion: v1
name: domino-admin-toolkit-config
data:
  crontab_entry: 0 0 * * *
  send_to_domino: "True"
kind: ConfigMap
Utilize scheduled reports during system disruptions
In case of a system disruption or outage:
Access the most recent “healthy state” report from the stored scheduled reports.
Generate an immediate system health report (if possible).
Compare the two reports to identify any deviations or unusual activities.
Sharing this information with the Domino support team can expedite the troubleshooting process and guide us towards the root cause of the problem more efficiently.
By leveraging scheduled reporting, you can manage system health more effectively, contributing to smoother, more reliable operations of your Domino environment.